
The Electric Milk Frother Steamer for DIY Making Latte Cappuccino Coffee Milk fast heating supplier provides a convenient way to transform milk into creamy, velvety foam. Perfect for crafting coffee shop-style lattes and cappuccinos at home, it saves time and effort while delivering professional-quality results. This versatile tool is ideal for creating a variety of delicious drinks with ease.
Key Takeaways
- Pick the best milk for frothing. Whole milk makes thick foam, and almond or oat milk also froths nicely.
- Clean your frother right after using it. This stops leftover milk from sticking and helps it last longer.
- Try new flavors and methods. Add syrups or spices to make drinks tastier, or practice latte art to wow your friends.
Step-by-Step Guide to Using an Electric Milk Frother
Preparing Your Milk and Frother
Before starting, I always make sure everything is ready. First, I choose the type of milk I want to use. Whole milk creates the creamiest foam, but non-dairy options like almond or oat milk work well too. I pour the milk into the frother, making sure it stays below the maximum fill line. Overfilling can cause spills or uneven frothing.
Next, I check the frother. If it’s been sitting unused, I give it a quick rinse to ensure it’s clean. For the Electric Milk Frother Steamer for DIY Making Latte Cappuccino Coffee Milk fast heating supplier, I attach the correct whisk for frothing or heating. This step ensures the frother operates smoothly.
Operating the Frother
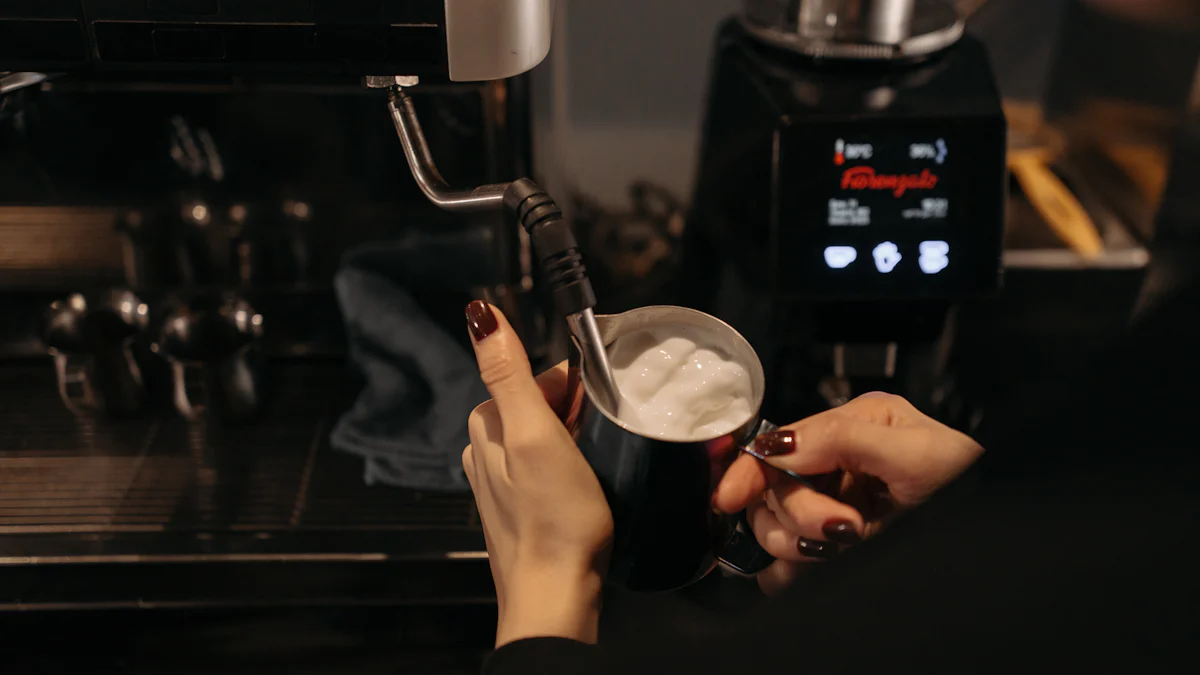
Using the frother is simple. I press the button to select the desired setting—hot froth, cold froth, or just heating. For lattes, I prefer hot froth, while cold froth works great for iced drinks. The Electric Milk Frother Steamer for DIY Making Latte Cappuccino Coffee Milk fast heating supplier heats and froths quickly, so I keep an eye on it. Once it finishes, I pour the frothy milk into my coffee.
Cleaning and Maintaining Your Frother
After using the frother, I clean it right away. I remove the whisk and rinse it under warm water. For the frother’s interior, I use a soft sponge and mild soap to avoid scratches. I dry everything thoroughly before reassembling. Regular cleaning keeps the frother in top condition and ensures it lasts longer.
Tip: Always unplug the frother before cleaning to stay safe.
Tips for Perfect Froth Every Time
Choosing the Right Type of Milk
The type of milk I use makes a big difference in the quality of the froth. Whole milk is my go-to choice because it creates a rich, creamy foam. The higher fat content helps the froth hold its shape longer. For a lighter option, I sometimes use 2% milk, which still froths well but has a slightly less creamy texture.
Non-dairy milk can also work, but not all brands froth equally. I’ve found that barista-style almond or oat milk produces the best results. These are specially formulated to create foam. Soy milk is another good option, though it can sometimes separate if overheated.
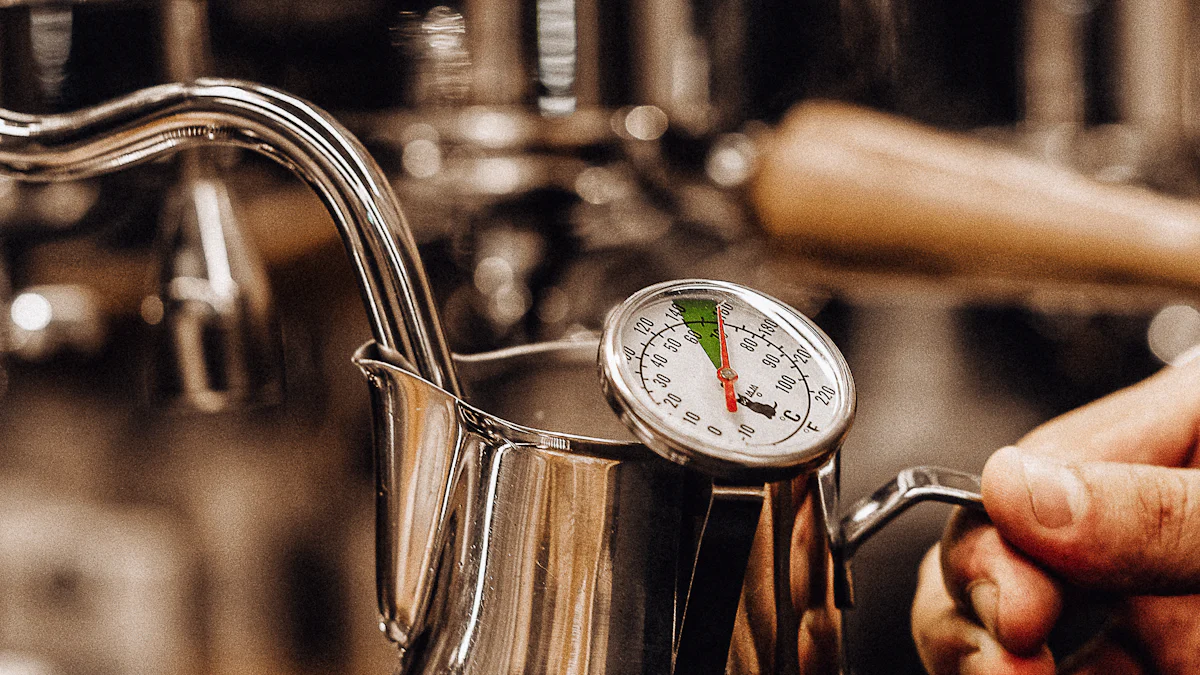
Tip: Always use fresh, cold milk straight from the fridge. Warm milk doesn’t froth as well.
Frothing Techniques for Best Results
I’ve learned that technique matters just as much as the milk. I always start by pouring the right amount of milk into the frother, staying below the maximum fill line. For the best foam, I use the frothing whisk attachment and select the hot or cold froth setting, depending on my drink.
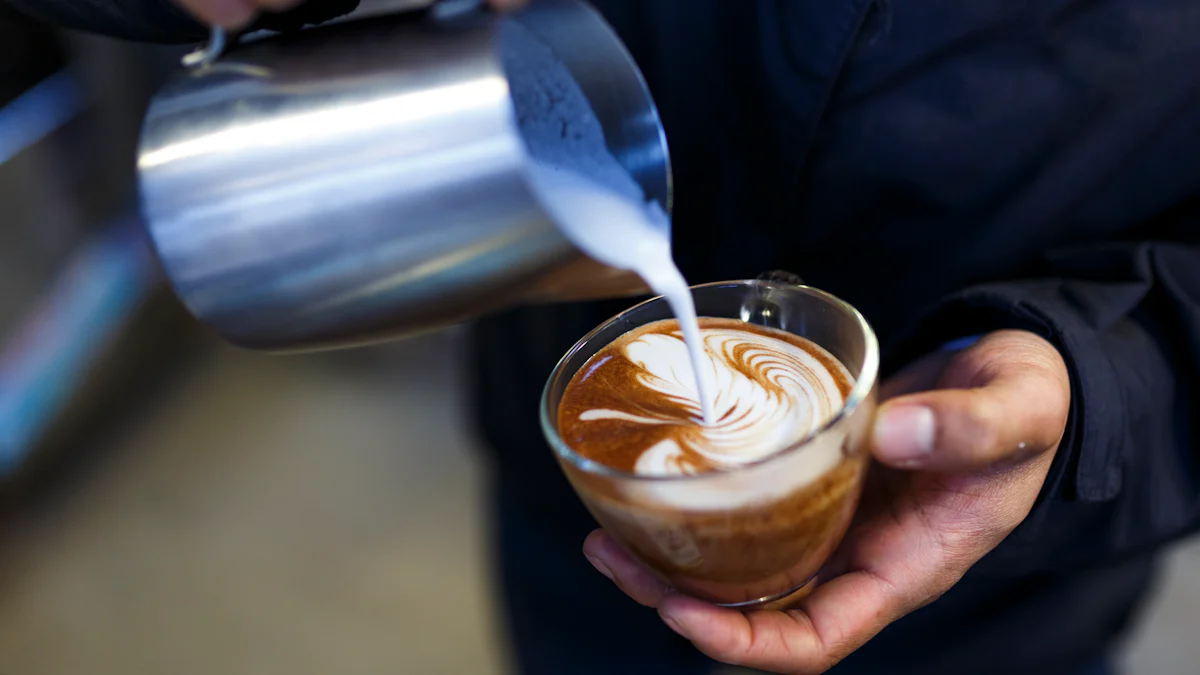
When pouring the frothed milk into my coffee, I tilt the cup slightly. This helps me control the flow and create latte art if I’m feeling creative.
Pro Tip: For extra creamy foam, I let the frother run for a few extra seconds after it finishes its cycle.
Common Mistakes to Avoid
I’ve made a few mistakes when frothing milk, but I’ve learned how to avoid them. Overfilling the frother is a common issue. It leads to spills and uneven froth. I always check the fill line before starting.
Using the wrong type of milk can also cause problems. Skim milk, for example, creates a thin, airy foam that doesn’t hold up well. I stick to whole milk or barista-style alternatives for the best results.
Finally, I never leave the frother uncleaned after use. Residue can build up and affect performance. A quick rinse and wipe after each use keep it in top shape.
Reminder: Always follow the manufacturer’s instructions for your frother to avoid damage or poor results.
Making Lattes and Cappuccinos with Frothed Milk
Simple Latte Recipe
Making a latte at home is easy and rewarding. I start by brewing a shot of espresso. If I don’t have an espresso machine, I use strong coffee as a substitute. While the coffee brews, I prepare the milk. Using my Electric Milk Frother Steamer for DIY Making Latte Cappuccino Coffee Milk fast heating supplier, I select the hot froth setting. This creates the creamy texture that makes lattes so delicious.
Once the milk is ready, I pour the espresso into a cup. Then, I slowly add the frothed milk, holding back the foam with a spoon. When the cup is nearly full, I spoon the foam on top. This creates the classic latte look.
Simple Cappuccino Recipe
For a cappuccino, I follow a similar process but adjust the milk-to-coffee ratio. I brew a shot of espresso first. Then, I use the frother to create thick, airy foam. The Electric Milk Frother Steamer for DIY Making Latte Cappuccino Coffee Milk fast heating supplier works perfectly for this.
I pour the espresso into a cup and add an equal amount of steamed milk. Finally, I top it with a generous layer of foam. The result is a rich, frothy cappuccino that rivals any coffee shop.
Adding Flavor and Personal Touches
I love experimenting with flavors to make my drinks unique. A dash of vanilla or caramel syrup adds sweetness to a latte. For cappuccinos, I sprinkle cinnamon or cocoa powder on top.
Sometimes, I use flavored milk, like chocolate or hazelnut, for a fun twist. The Electric Milk Frother Steamer for DIY Making Latte Cappuccino Coffee Milk fast heating supplier handles these variations effortlessly. Adding whipped cream or a drizzle of sauce can also elevate the presentation.
Tip: Try creating latte art by swirling the foam with a toothpick. It’s easier than it looks and impresses guests!
Using an electric milk frother is simple and rewarding. I prepare the milk, operate the frother, and clean it after use. This process makes creating lattes and cappuccinos at home enjoyable. The Electric Milk Frother Steamer for DIY Making Latte Cappuccino Coffee Milk fast heating supplier inspires creativity. I encourage experimenting with flavors and techniques to craft unique coffee masterpieces.
FAQ
How much milk should I use in the frother?
I always check the frother’s maximum fill line. For most recipes, I use about 1/2 to 3/4 cup of milk.
Can I froth non-dairy milk?
Yes! I’ve had great results with barista-style almond and oat milk. These options froth beautifully and add unique flavors to my drinks.
Why isn’t my milk frothing properly?
The milk might be too warm or not fresh. I always use cold milk straight from the fridge and ensure the frother is clean before starting.
Post time: Jan-29-2025